I asked some of my dear blog friends to help me out and fill in for me all this week...so you are going to see some amazing ladies who have amazing spaces. I would LOVE it if you went over to visit their blogs and let them know I sent you - and pin some of their fabulous tutorials while you're over there.

First up is my friend, Brittany from Pretty Handy Girl. She won't disappoint...she has skills like I could only dream of. I consider myself fairly handy, but not nearly as handy as Brittany. She's a DIY go-to girl and has a blog filled with ways to empower women to pick up those tools and learn to fix things.

I'm so excited to be joining Becky today at Organizing Made Fun. Becky and I finally got the chance to meet in person at Blissdom.

Right away I felt as if I was hanging out with a close friend that I'd known for years. I love when that kind of connection happens.
I have an easy tutorial for you today on better organization under the kitchen sink. But, before we get to the tutorial, I think introductions are in order.
Hi, my name is Brittany (aka Pretty Handy Girl).

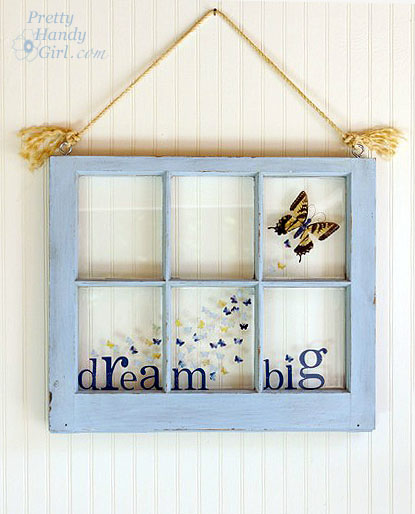
Normally I don't look this clean. I usually have sawdust in my hair or paint splatter on my elbows. I write a blog full of tutorials for everything from crafting and sewing:
to building and home repairs:

Today I want to share with you some tips to maximizing space under your kitchen sink. If you are like me, you might have stuff crammed under there that could be labelled as potential explosive material (because every time I open those doors I prepare myself for random cleaners and bottles to explode out after being shoved in.)

Finding anything in there required moving everything. After one too many frustrating episodes of not being able to find a clean sponge or dish detergent, I decided enough was enough! As a busy blogger and mother of two I don't have time to try to find a clean sponge in my own cabinet!
First I cleared everything out of the cabinet and donated all the products that I don't use. I purchased a plastic lazy susan and put it under one side of the sink.

All the frequently used products live on "Susan". I had to play with the placement of some of the taller bottles so they wouldn't hit the drain as they spun around.
On the left side, I store the larger items (compost bucket, napkins and paper towels.)

I also found two baskets to hold dish rags and kitchen towels.

But, there were three things that I reach for over and over again throughout the day: My cleaning spray bottles. I wanted them close at hand and easy to reach as I fought sticky counter syndrome (you moms of young kids know what I'm talking about, right!) I purchased a wire shelf that mounts to the inside of the cabinet door and installed it in a matter of minutes!
Here's the tutorial to add your own sticky counter arsenal holder:
Materials:

- Cordless drill (or philips screwdriver)
- Cabinet rack
- Safety goggles
- Pencil
- Level
Difficulty: Easy - limited power tool usage. A screwdriver could be used instead of a drill.
Instructions:
1. Hold the wire shelf against the cabinet door to determine the height you want to mount it. Mark the location of one of the screw holes on the side of the rack.

2. Use a level to mark the second screw location on the other side of the rack.

Step 3. Drive one screw into one side. Leave part of the screw protruding from the cabinet.

Step 4. Insert the wire shelf underneath the first screw. Use the drill to drive the second screw into the opposite side. Tighten or loosen the screws as necessary.

Step 5. Store cleaners or other products on the shelf.

Can I get a wooohooo for being organized and utilizing unused space on the cabinet door?! Thanks for having me today. I hope you'll come visit me soon at PrettyHandyGirl.com.


See, I told you she was amazing! If you want to follow my adventures in Florida, you can follow me on my Instagram or Twitter...where I'll be sharing my photos from my travels abroad!

Like what you see here? Consider becoming a follower or subscribe via email!
Having trouble seeing the pictures? Try THIS.
Are you an Organized Reader? I'd love to see your organized space. Email me HERE and show me your space to possibly be featured as one of my Organized Readers.