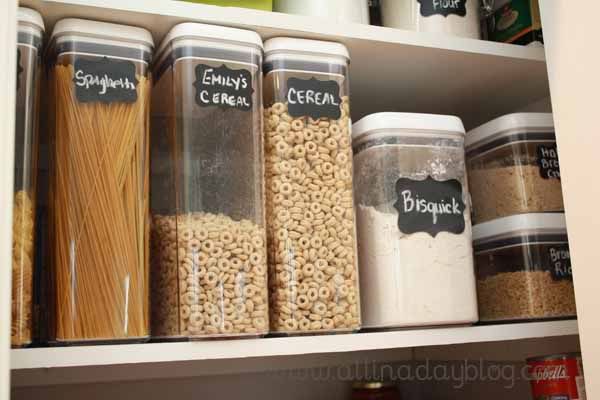
Hello OMF readers!!! I am so excited to be here guest posting for Becky today!
I had the pleasure of meeting Becky at Blissdom back in February! She is such a doll and I just loved spending some time with her! So, of course, when Becky asked me to guest post it was a no brainer!!
So let me introduce myself! I’m Amy.

I ramble on and on over at my blog All In A Day.
Even though Becky said our posts didn’t have to be about organizing, I knew this would be the perfect opportunity for me to tackle a space that has bothered me for a while now……the pantry!!
I cannot tell you how many times I have completely emptied my pantry and tried to organize it. I’ve used baskets, buckets, shoe boxes, you name it! But somehow or another, everything just ended up cluttered and unorganized again.
Not to mention we had ugly, wire shelves that the builder installed in the pantry.
See what I mean……
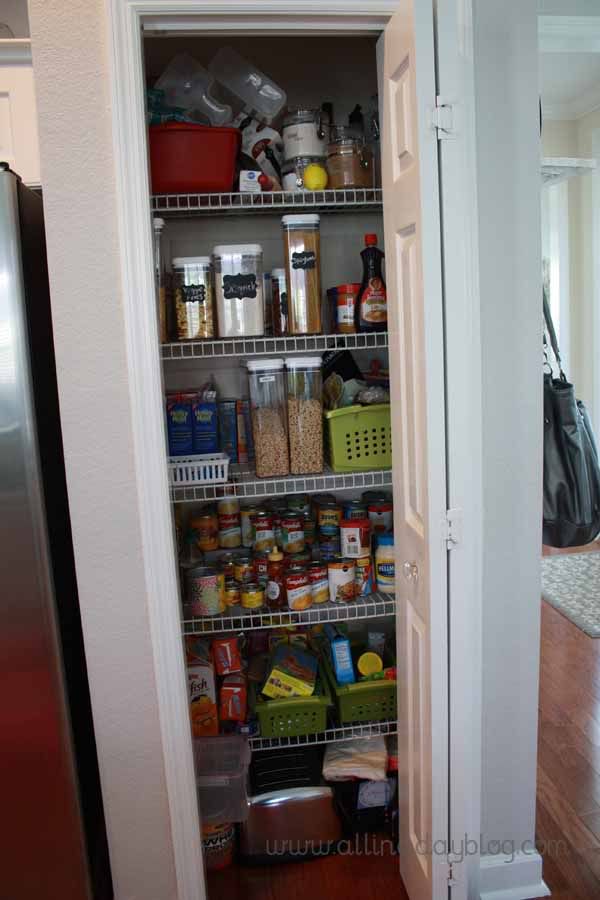
Such a hot mess, right!!??
First of all, I just don’t have words for the condition that the top shelf was in.
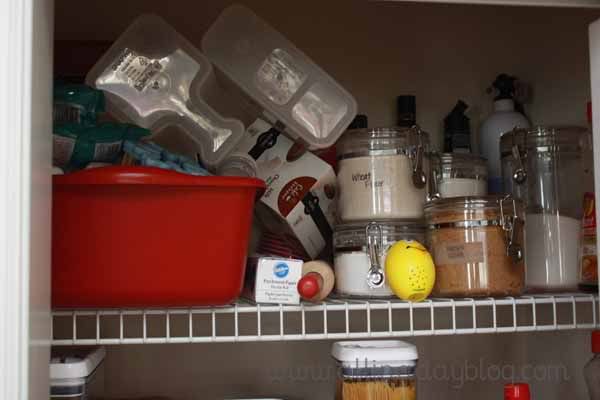
Really? I literally had gotten to the point to where I was obviously just throwing stuff up there! Not good.
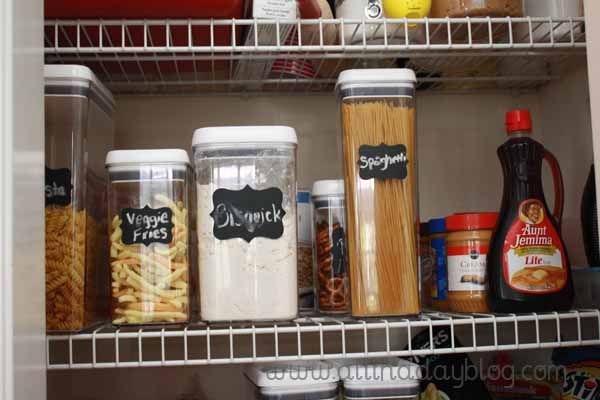
The second and third shelves weren’t too bad. I had attempted to start getting organized by purchasing some airtight containers for our pastas, snacks, and cereals (these are the Better Homes and Gardens ones from Walmart….LOVE them!).
The fourth shelf…well…..I just don’t think one family should have this many canned goods!!! Ok – maybe the Duggar’s and their 18 (or is it 19? Are they up to 20 now??) kids can get by with this many cans, but not my little family of 3.
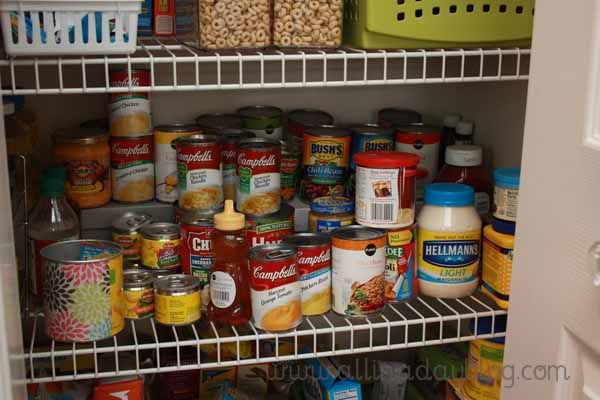
Ridiculous.
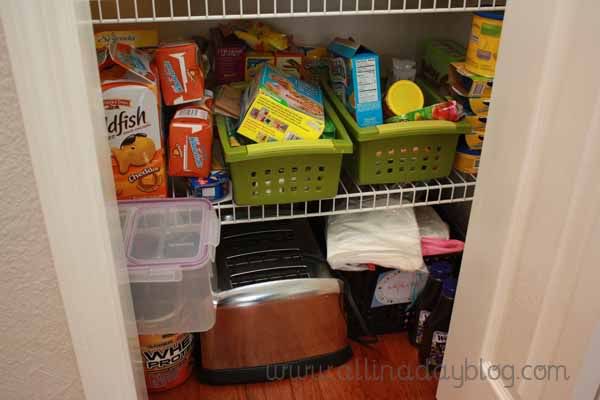
And I reserved the bottom shelf for all of Emily’s snacks. Again, I just threw them in there. I attempted baskets to stay organized. Fail.
And let’s not talk about the floor of the pantry. Old tupperware containers, toasters, basket of napkins, extra condiments. It was a mess!!
So, I took to Pinterest for some inspiration. One common theme was that everyone removed the wire shelving and replaced them with wood shelves!
So I headed to Home Depot for my supplies! I picked up one large board of melamine. I chose melamine because it’s already nice and white. AKA….no priming or painting! Score. I also picked up 4 1x2’s that were also already primed. I had Home Depot cut my melamine board into 31”x20” pieces. The wire shelves were only about 17” deep, but I had my boards cut to be 20” deep to give me a little extra space!
I gave the 1x2’s a fresh coat of white paint and cut them down to size.
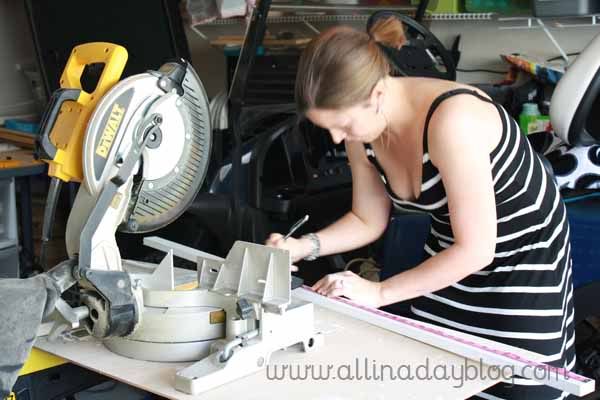
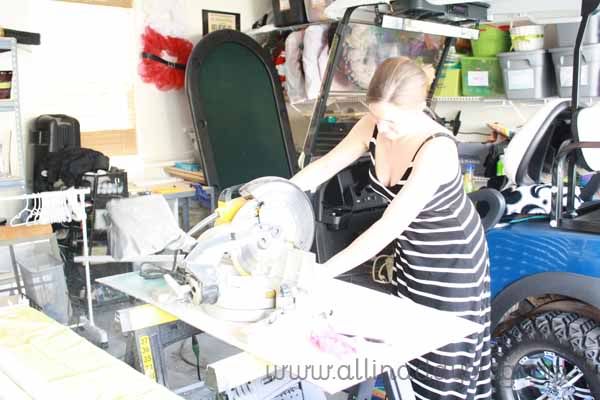
What?!? You don’t work your miter saw in a dress?!? Sheesh!
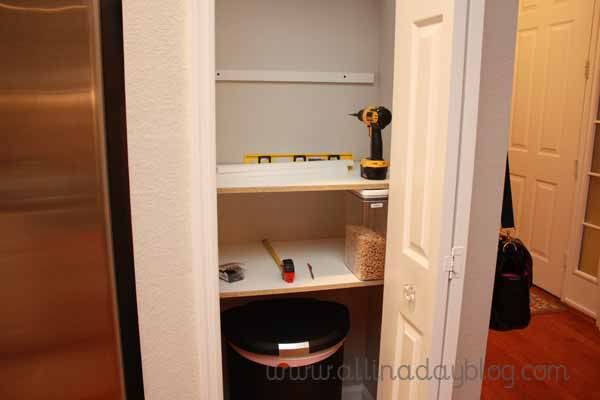
I found and marked the studs in the pantry and got busy drilling my 1x2’s in, making sure they were level. These would be the shelf supports.
The melamine boards had a raw edge along the front so I bought this handy stuff:
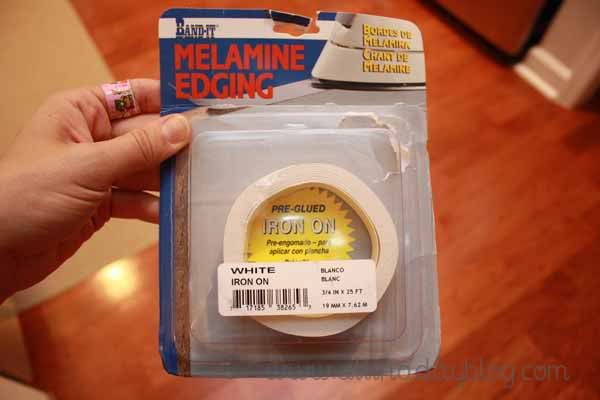
Yup! You literally just iron it on to the front of the board! Pretty neat, huh?
Note: You will want to use a towel or something to protect your iron while you iron this stuff on.
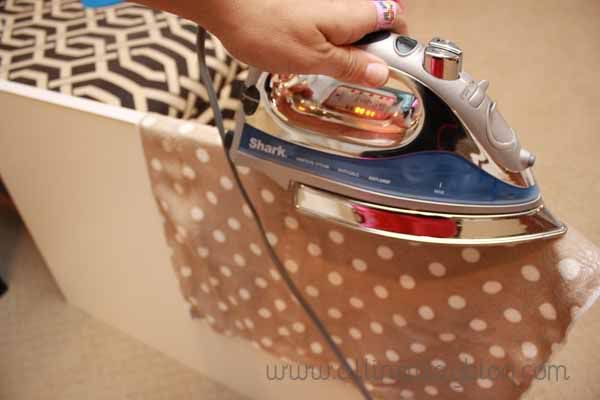
After all of the edging was ironed on, the boards went up in the pantry. Then it was time for the fun part!! Organizing the food and putting it back in the pantry!
I bought a couple more BHG containers from Walmart and a shelf organizer for my canned goods that I did keep.
Are you ready for the after!?!
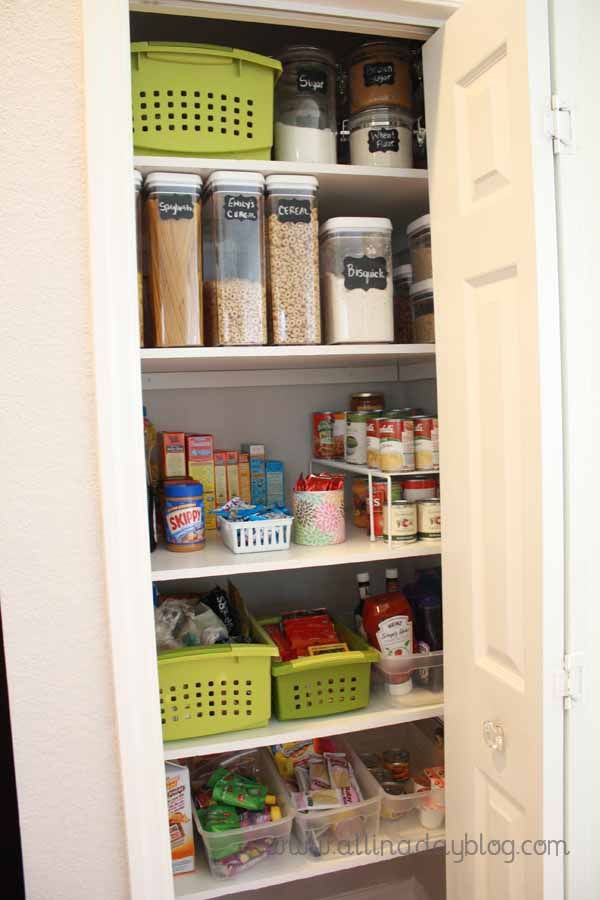
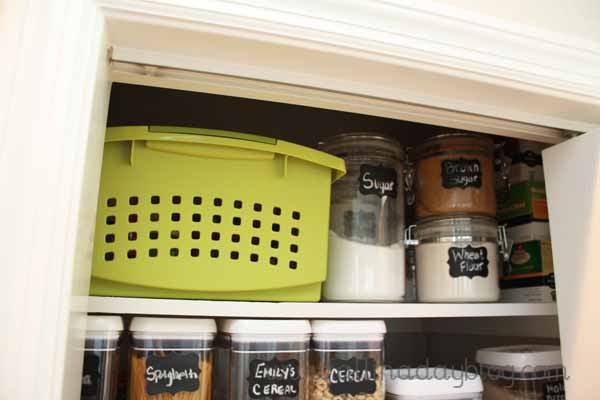
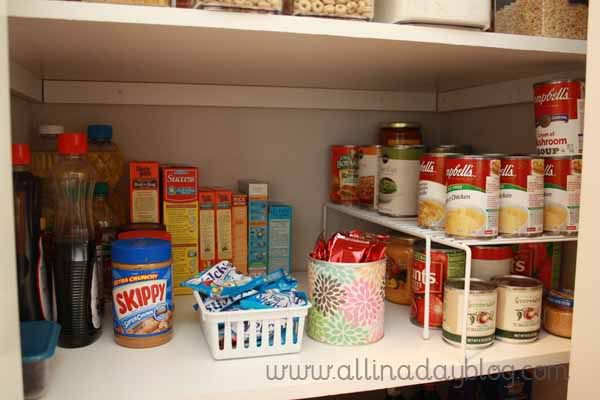
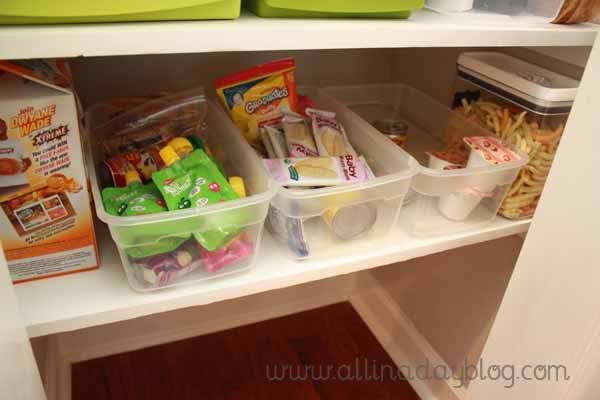
So much better, right!?! I initially was only going to use 4 shelves and keep our trash can at the bottom of our pantry. But, it just didn’t work out for me. I needed the 5th shelf.
All the food that I got rid of (because I know we literally will never eat it) is going to our local shelter. I didn’t want to just throw it away.
I am so thrilled with how the pantry turned out. I still grin every single time I open it up! We just love it and it’s much more functional for our family!
And one more time (because everybody loves a good Before and After)……

A Few Things To Note:
- * Taking those wire shelves out was not that much fun. Whoever came up with the system for installing those bad boys should be fired!
- * Wire shelves leave gaping holes in your wall when you remove them. I probably should have used a drywall patch or something, but I was lazy and I didn’t. I just spackled the holes.
- * Speaking of spackle, I would recommend the kind by DAP that goes on pink and dries white. That way you know when it’s dry!
- * I painted the inside of the pantry after I spackled to match the paint in the family room and kitchen area (Valspar’s Ghost Gray).
- * All of the baskets I used in the new pantry, I already had on hand! They are from Target. The basket on the top shelf holds all my baking goods (candy melts, sprinkles, etc). The other large green basket holds our chips, bread, bagels, etc. Next to it is a smaller green basket that holds all my seasoning packets and a box of popcorn!
I hope you enjoyed my new and improved pantry project!
I’d love for you to hop on over to my blog and say hi!
Thanks again for having me Becky! You’re the best!


Are you as impressed as I am? Mitering in a dress??? Wow, that's dedication to organization! I hope you get an opportunity to go over to Amy's blog and see what she's done. She's a sweet girl and we had a great time chatting it up at Blissdom last February, so I can tell you she's as sweet in person as she writes on her blog!
If you want to follow my adventures in Florida, you can follow me on my Instagram or Twitter...where I'll be sharing my photos from my travels abroad!


Like what you see here? Consider becoming a follower or subscribe via email!
Having trouble seeing the pictures? Try THIS.
Are you an Organized Reader? I'd love to see your organized space. Email me HERE and show me your space to possibly be featured as one of my Organized Readers.
